What do I need before installing?
- WordPress 5.8 or later
- WordPress 7.0.1 or later if Authors or Contributors (users without the “unfiltered_html” capability) save OpenType features or variable font axes. On earlier versions, WordPress removes them from the post when such a user saves it.
- PHP 7.4 or later
- A current version of Chrome, Firefox, Safari, or Edge
You also need a font that contains the OpenType features you want. See What are OpenType features? to learn why.
How do I install the plugin?
- Go to Plugins → Add Plugin.
- Click Upload Plugin.
- Choose the plugin ZIP file.
- Click Install Now.
- Click Activate Plugin.
Where are the settings?
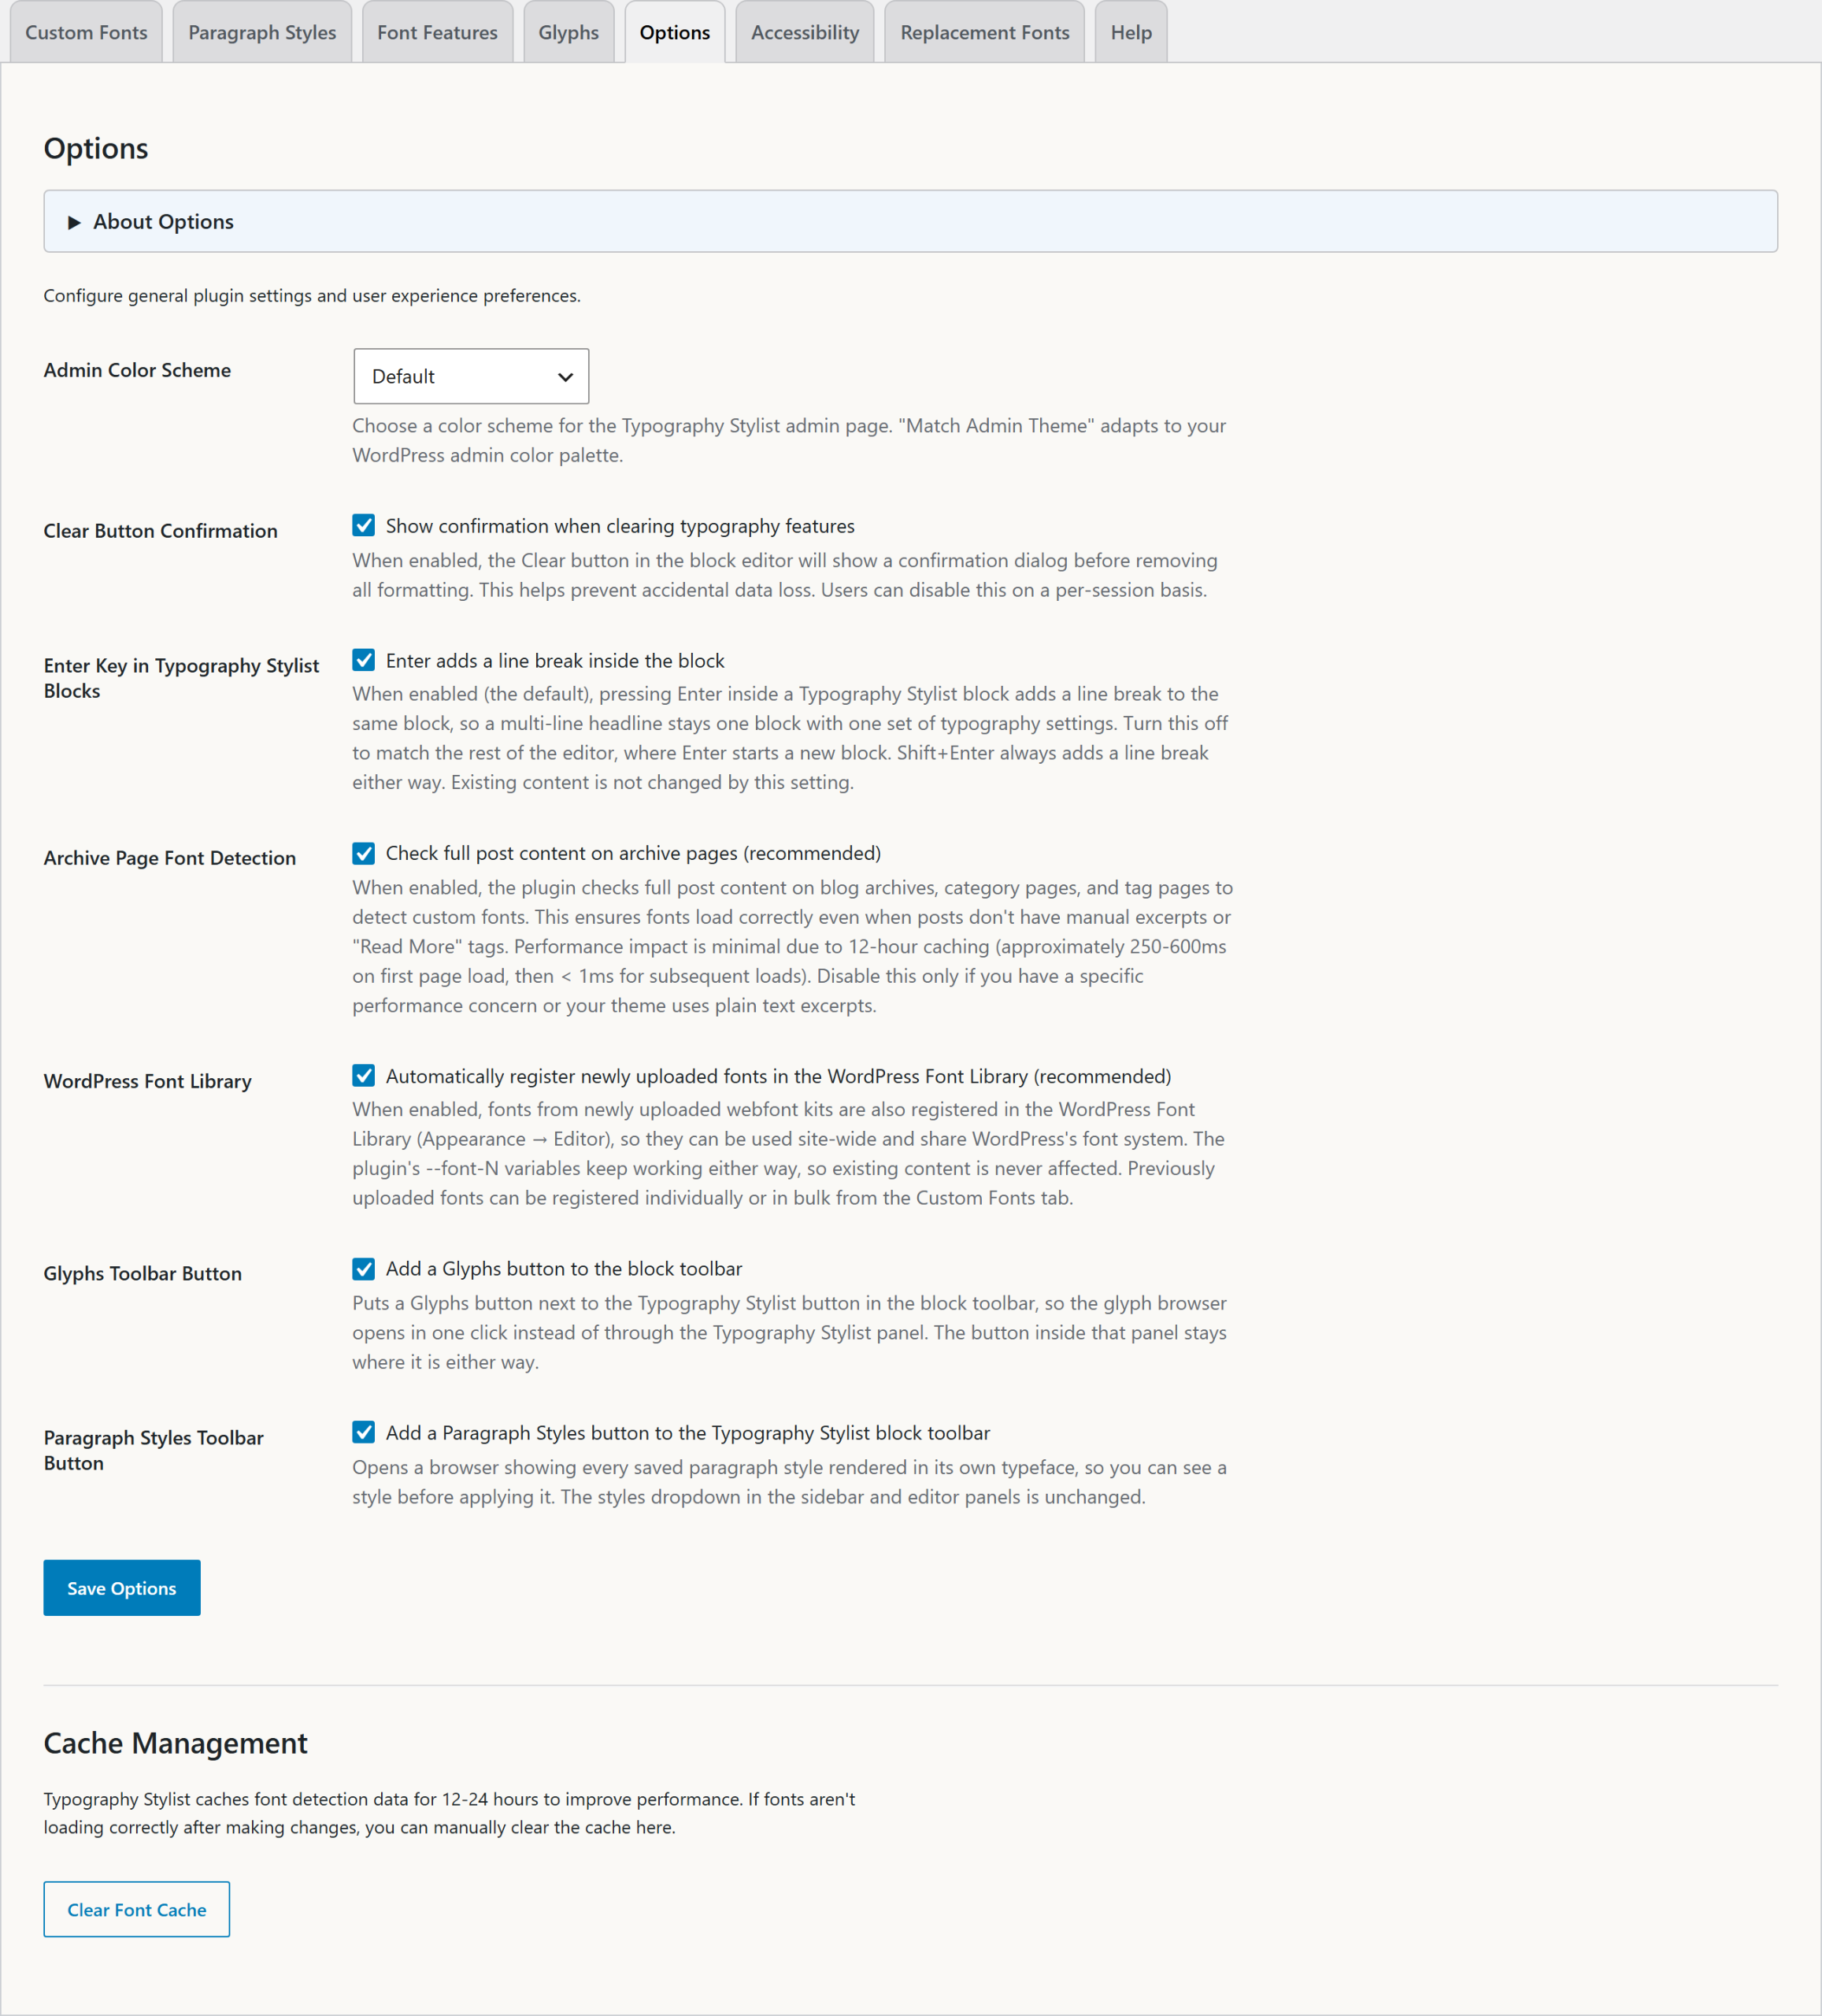
Go to Settings → Typography Stylist. The settings screen has these tabs:
- Custom Fonts: Upload webfont kits, connect Adobe Fonts, or add fonts that your theme already loads.
- Paragraph Styles: See, rename, and delete your saved paragraph styles. Each style shows a preview.
- Font Features: See every OpenType feature and preview it in your fonts.
- Glyphs: Browse the glyphs in a font without opening the editor.
- Options: Set the Enter key behavior, the font size unit for new content, the Glyphs and Paragraph Styles toolbar buttons, the admin color scheme, the clear confirmation, archive font detection, and Font Library registration. You can also clear the font cache.
- Accessibility: Turn the partial-word warning on or off.
- Replacement Fonts: Map a deleted font to a different font.
- Export & Import: Move paragraph styles, presets, options, and font settings to another site.
- Help: Read a short guide to the plugin.
For a description of each setting, see the Settings reference.
How do I know it worked?
Edit a post and add a Heading block. Type a few words and select them. A swash T button shows in the block toolbar. Its name is “Typography Stylist Features”. If you see it, the plugin is active.
Activation does not change your existing content. Typography Stylist changes only the text that you style.